
Ethanol Fuel
Corn Mash and Distillation
Grade Level: Middle School
In this lab, students will learn about ethanol and its important role in our world’s ever increasing demand for energy. Students will go through the process of fermenting and distilling corn for ethanol production.
This lab has many variables that can affect ethanol production. The procedure can be followed as is, or a more inquiry-based lesson can be used by having students choose a variable and make changes to see how that variable affects the amount of ethanol produced.
Instructional Videos for Teachers


Teaching the Lesson
- Kansas College and Career Ready Standards
- Learning Objectives
- Materials
- Procedures for Instruction
- Background Information
- Classroom Discussion
- Safety Considerations
- Procedure for Lab
- Teacher Demonstrations with Ethanol
- Teacher Resources
- Lab Analysis
- Reflection and Conclusion
- Assessment
- Science and Agriculture Careers
- Sources
- Disclaimer
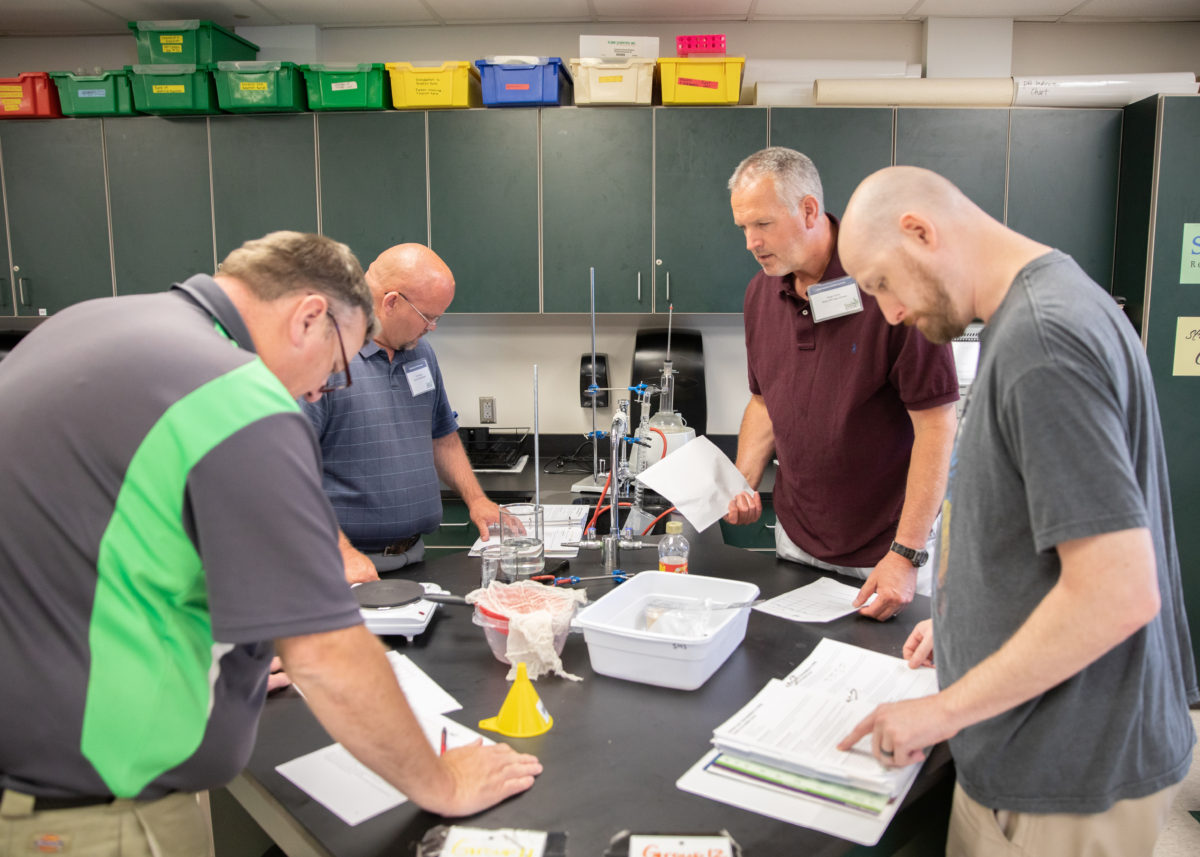
Procedure for Lab
Part 1
Preparation of Enzymes (Prepare before the start of the lab)
- Mix ¼ tsp of amylase with 1 L of distilled water. Stir thoroughly.
- Mix ¼ tsp of glucoamylase with 1 L of distilled water. Stir thoroughly.
Preparation of Corn Mash (1 to 2 class periods depending on schedules)
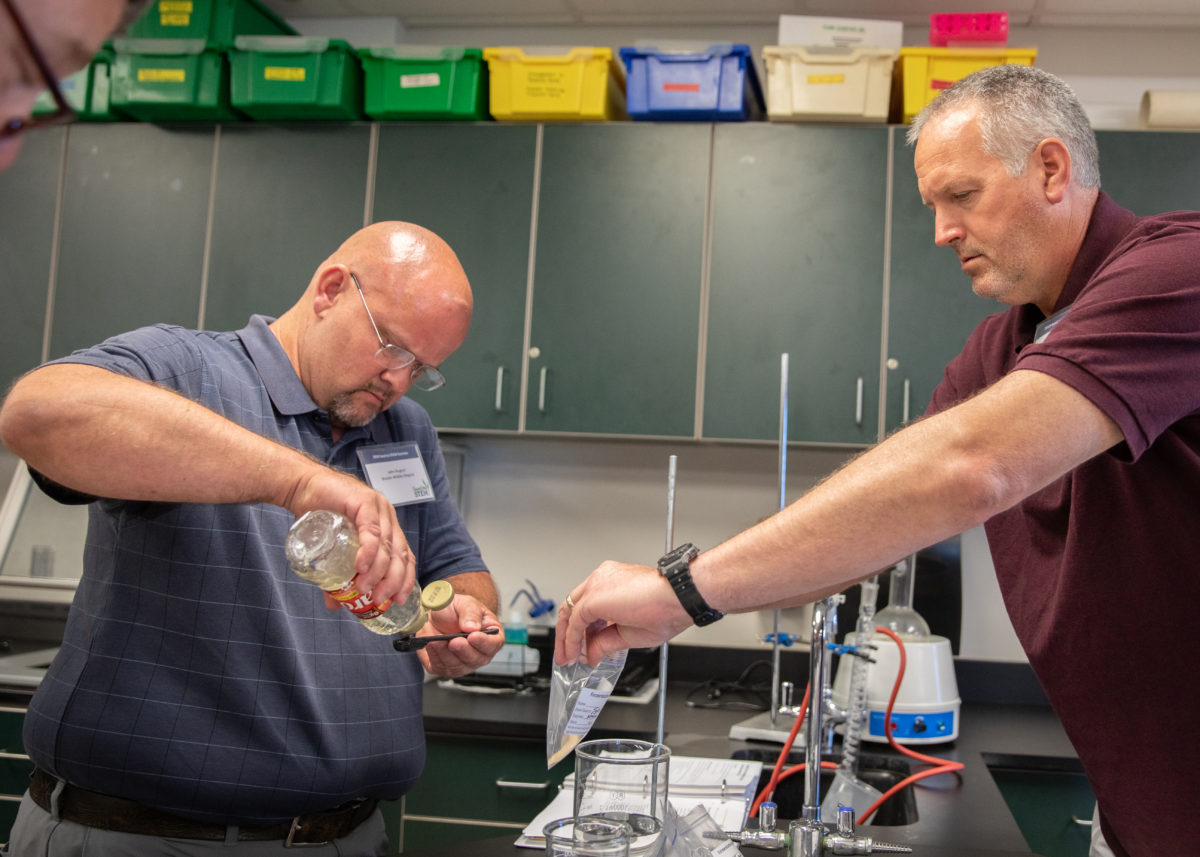
- Weigh out 100 g of ground corn and add to a 600 ml beaker.
- Heat 300 ml distilled water to between 80°C to 90°C and add it to the ground corn. Stir the corn mixture. Place the beaker on a hotplate. Gently boil the solution and continuously stir for 15 minutes. Be careful not to let the corn mixture burn.
- After boiling is completed, remove the beaker from the hotplate and allow it to cool to between 55°C and 37°C. (Note: See Teacher Tips.)
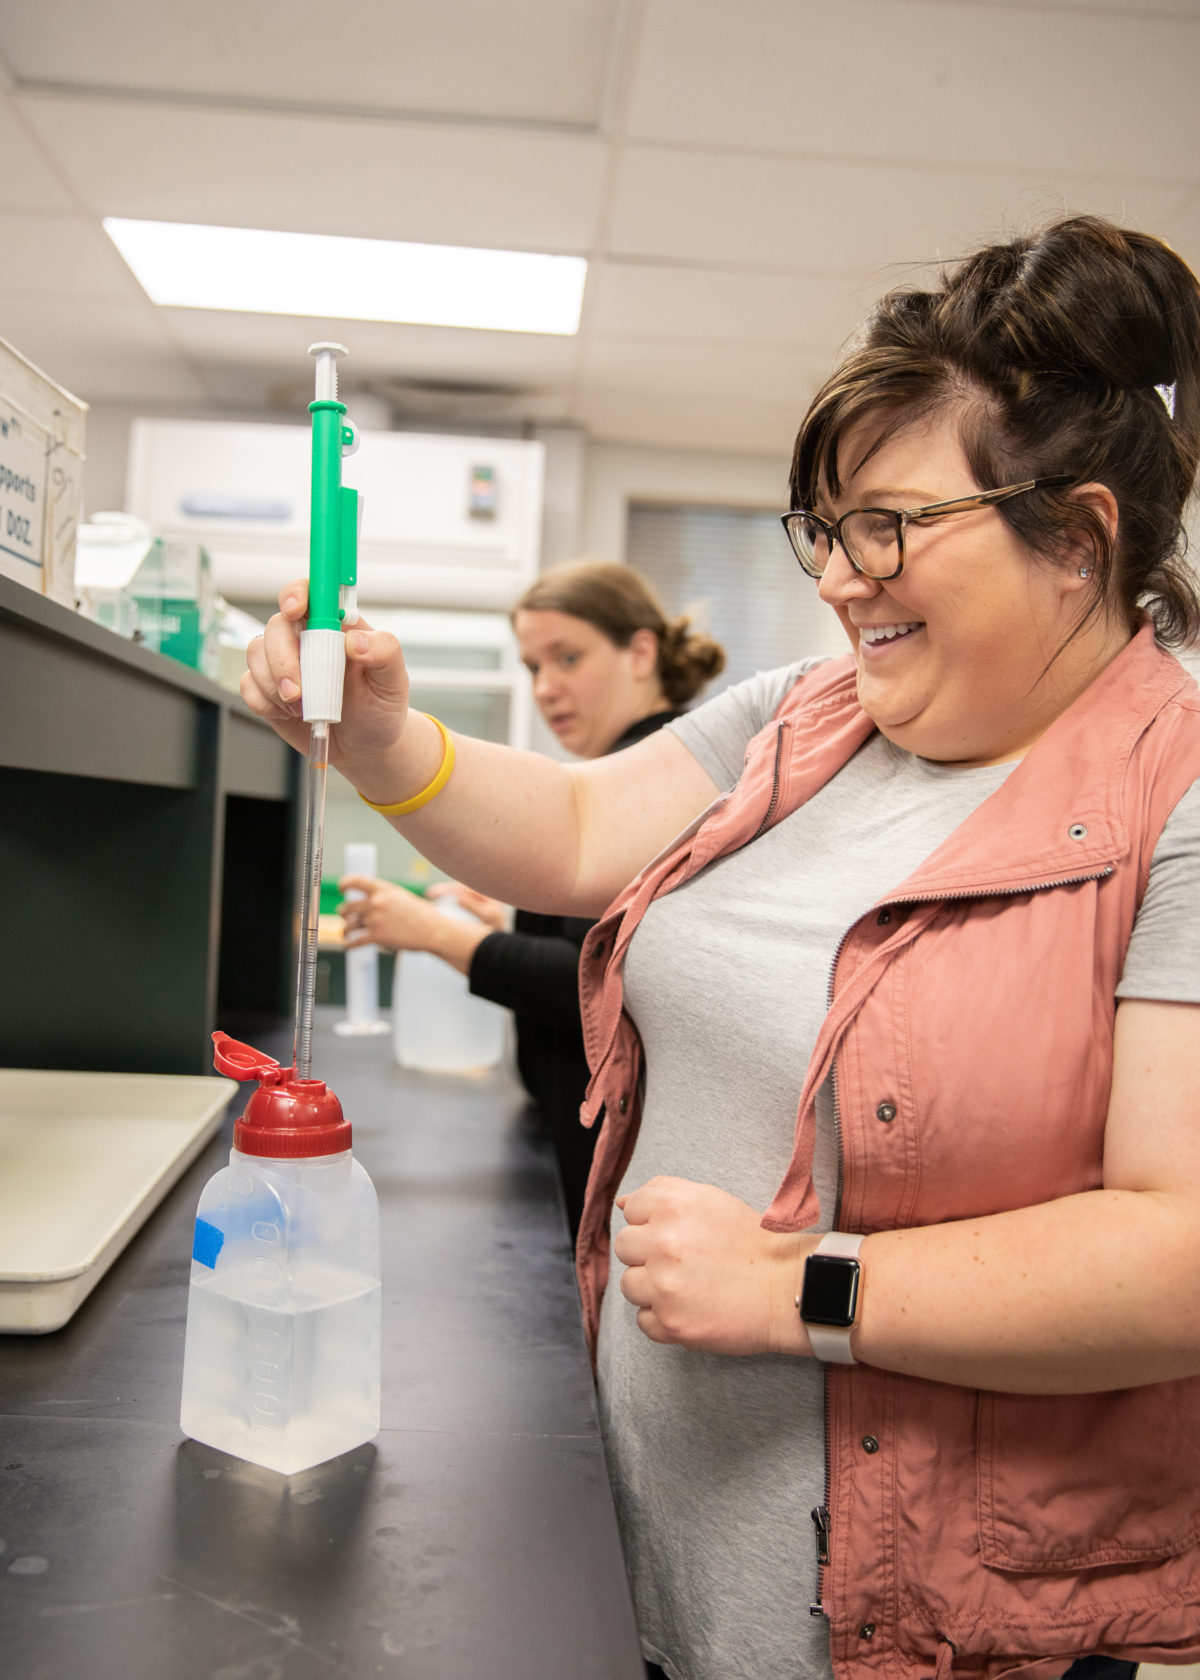
- While the corn mash is cooling, measure 100 ml of distilled water and pour into a 250 ml beaker. Shake the amylase solution, then measure 10 ml of the amylase solution into a small graduated cylinder and add to the 250 ml beaker of water. Stir the resulting mixture and add it to the cooled corn mash. Stir the mixture occasionally with a stirring rod throughout the next 10 minutes.
- At the end of the 10-minute period, measure 35 ml of the pH 5 buffer. Shake the buffer solution and add it to the corn mash to maintain a slightly acidic pH.
- Shake the glucoamylase solution, then measure 10 ml of glucoamylase solution. Add it to the corn mash.
- Add 5 grams of yeast to the corn mash and stir the entire mixture well. See Optional Procedure below for CO2 gas collection, or proceed with Step 8.
- Place a piece of plastic wrap over the mouth of beaker and secure it with a rubber band (fermentation and gas production will occur so do not secure it too tightly). Place your beaker on the counter and allow it to sit overnight. (Note: See Teacher Tips.)
Optional Procedure for Overnight Fermentation
This procedure will allow you to track the CO2 production of the yeast. Knowing how much gas is produced will allow you to track how much fermentation has taken place and allow you to wait to distill until fermentation has stopped or significantly slowed (anywhere from 24 to 36 hours). (Note: See Teachers Tip)
- Transfer your corn mash / yeast mixture to a 500 ml Erlenmeyer Flask. Insert 90° bent glass tubing into a single-holed stopper large enough to fit your flask.
- Fill a large tub with water. Submerge your 250 ml or larger graduated cylinder under the water until it is completely filled. Keep the open end of the cylinder submerged under the water but lift the bottom end up. The graduated cylinder should now be upside down, vertically in your water tub. It should still be filled with water and free of air bubbles. Use a stand and clamp to secure the graduated cylinder.
- Attach rubber tubing to the glass tubing in your flask. Run the tubing under the water and up into the opening of the suspended graduated cylinder.
- As the yeast metabolize and produce ethanol, they also produce carbon dioxide. There is a direct correlation between the amount of carbon dioxide produced and the amount of ethanol. Over time, the graduated cylinder will fill up with gas and displace the water inside. You may need to refill the cylinder with water several times. Keep track of the gas production and note when the gas production slows or stops. When this occurs, you are ready to distill.
Part 2:
Filtering the Solids (10-15 minutes)
- Use a large strainer with a large bowl/beaker underneath to strain out any large solids from your fermented corn mash. Repeat this step 2-3 times. Swirl the strainer as it drains. This will greatly reduce the time it takes to strain.
- Collect the solids from the strainer. Place the solids in a large piece of cheesecloth. Wrap up the solids, then hand squeeze the liquid out of the solids into your beaker.
- Line your strainer with a new piece of cheesecloth. Pour your liquid through the cheesecloth lined strainer into a bowl/beaker below. Collect the cheesecloth with the strained solids, and again hand squeeze the liquid out of the solids into your bowl/beaker. You should have removed most of the solids from this mixture at this time.
Distillation of Ethanol from Corn Mash (1-2 hours depending on how long it takes your heating mantle to warm up. Plan to continue running after class has completed)
- Set up the distillation apparatus as directed. Make sure to either grease or wet the ground glass joints before connecting them. This helps to prevent any vapor from escaping the joints and to keep the joints from freezing together. Visit kscorn.com for video instructions.
- Pour the strained solution into the distillation flask. Use a heating mantle to heat the liquid and control the temperature. The best separation of alcohol will occur if the distillation is done slowly. Ethanol’s boiling point is 78.37°C and water’s is 100°C; therefore, keep the temperature of the distillate between these two boiling points. (Note: See Teacher Tips.)
- Collect the ethanol distillate samples into a small flask to be used for the Alcohol Flame Test. Wrap the opening of the flask and end of the condensing tube with aluminum foil to help prevent evaporation of the ethanol. Pour the distillate samples into a capped vial for storage until ready to do the Alcohol Flame Test.
Alcohol Flame Test
Use a pipet to remove a 2 ml sample of your distilled ethanol and place the ethanol on a watch glass or in a ceramic evaporating dish. Light the ethanol with a lighter. A quality sample will light with a pale blue flame. Time how long the flame burns. The longer the flame burns, the greater the alcohol concentration.
If the flame does not burn, the mixture may contain too much water.
Ethanol’s boiling point is 78.37°C and water’s is 100°C; therefore, it is important to keep the temperature between these two boiling points. If distillation ran with temperature close to 100°C, too much water may have gotten into the sample.
There are two possible solutions:
- Distillate may be run through the distillation process again
- Add 4 ml of distillate with several drops of food coloring to a test tube containing 1 g of potassium carbonate, K2CO3, and insert stopper. Shake vigorously and allow layers to form. If none form, add more potassium carbonate and repeat. Water in the distillate is attracted more to the potassium carbonate and leaves the ethanol in a concentrated layer that will contain the food coloring. The ethanol layer will form above the salt water layer due to its lower density. Carefully pipette or decant the ethanol off of the salt water layer.
Optional salting out activity:
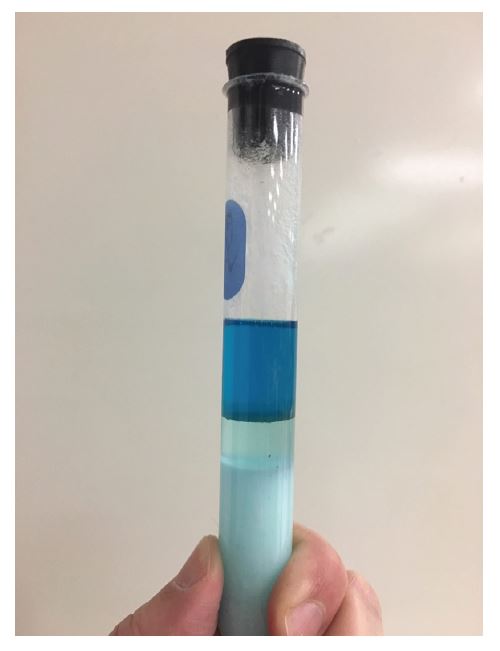
Potassium carbonate has saturated the water and forced the ethanol out of solution. The food coloring stays in the ethanol layer. This should be nearly pure ethanol.
https://projects.ncsu.edu/project/chemistrydemos/Organic/SaltingOut.pdf
Teacher Demonstrations with Ethanol
Demonstration 1: Whoosh Bottle
This demonstration shows the flammability and potential stored within vaporized ethanol.
Safety Considerations:
- Make sure to wear safety goggles when performing this demonstration.
- Students should be kept back from the bottle.
- Keep hands and loose clothing away from the opening of the bottle, as flames will shoot out of the opening.
Instructions:
- Measure 10 ml of 95% ethanol and pour it into the large Culligan water bottle. Cover the opening of the bottle with plastic wrap and a rubber band.
- Shake the water bottle for about a minute, spinning the bottle to make sure the sides are coated with ethanol.
- Turn off the classroom lights. Set the bottle on the table and remove the plastic wrap.
- Stand back from the bottle. Extending your arm, light a long-reach lighter and hold it over the opening. This demonstration can also be lit with a match attached to the end of a long rod.
It is recommended to have at least two water bottles for this demonstration especially if you need to do this in back to back class periods. The demonstration cannot be performed again directly after it is completed. A small fan can be placed near the opening of bottle to help vent out the gas and circulate fresh air into the bottle between demonstrations.
Demonstration 2: Launching a Water Bottle
This demonstration shows the flammability of vaporized ethanol and the conversion of potential energy to kinetic energy. 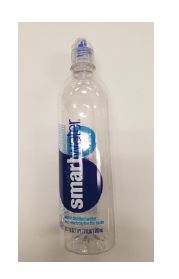
Safety Considerations:
- Make sure to wear safety goggles when performing this demonstration.
- Students should be kept back from bottle.
- Keep hands and loose clothing away from the opening of the bottle, as flames will shoot out of the opening.
Instructions:
- Prepare a small water bottle ahead of time by heating a glass stirring rod and melting a small hole in the center of the cap. (Note: The Smart Water bottle with Sport Cap (pictured) is perfect for this demonstration, and it does not require you to melt a hole in the cap.)
- Measure 10 ml of 95% ethanol and pour it into the water bottle.
- Cover the opening of the bottle with your thumb and shake the water bottle for about 30 seconds, swirling the bottle to make sure the sides are coated with ethanol.
- Lay the bottle on its side on the floor or counter. Stand back from the bottle. Extending your arm, light a long-reach lighter and hold it over the opening. The bottle will launch across the floor/counter.
It is recommended to have at least two water bottles for this demonstration especially if you need to do this in back to back class periods. The demonstration cannot be performed again directly after it is completed. a small fan can be placed near the opening of bottle to help vent out the gas and circulate fresh air into the bottle between demonstrations.
Demonstration 3: Ethanol Fuel Cells
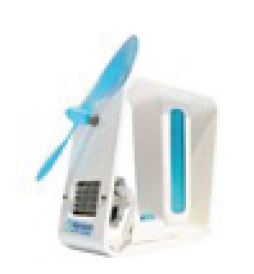
This Bio-Energy Fuel Cell Kit from Horizon allows you to convert ethanol directly to electricity without combustion. Dilute the 95% ethanol to a 10% solution. Put the ethanol into the reservoir. The fuel cell produces enough electricity to power the small fan. One of the byproducts of the reaction is acetic acid, which can be tested with pH paper . Refer to and follow directions that accompany the kit.
About Kansas Corn STEM
Investing in Kansas teachers and students is a priority for the Kansas Corn Commission. We are committed to providing materials and training to support STEM education while fostering an understanding of how corn farming and agriculture fit into our daily lives. Professional development workshops are offered to teachers seeking to expand their knowledge and inquiry-based teaching skills. Workshop participants receive free lab supplies needed for the lessons.
Workshop InfoThis lesson is the work product of the Kansas Corn Commission. Our lessons are written in collaboration with Kansas teachers for use in the classroom. Teachers may copy and share this curriculum. Use of this product for commercial or promotional use is prohibited without express permission of Kansas Corn.
Newsletter Sign Up
Each quarter we release a newsletter written by teachers for teachers. This is an easy way to keep up with what is happening at Kansas Corn STEM.
Subscribe Today!