Back to all Lessons

Soil

Soil Sleuths

Grade Level: Middle School

In this unit, students will learn about the essential nutrients for the growth of corn plants. Students will also learn how farmers use soil sampling to monitor the health of their fields by analyzing the nutrients it contains. By knowing the soil health in different parts of their fields, farmers can strategically plan what parts of the field need what types and amounts of fertilizer. Students will learn and practice the proper procedures for collecting a soil sample. They will then examine their soil samples by determining the different soil components, testing soil pH, and exploring how air space allows soil to hold and transmit water. Students will consider why corn can be in grown in all 50 states, but also what makes Kansas soils ideally suited to growing corn. Students will also have the opportunity to test various soils, using MudWatts, to create their own  biofuel cell.

Instructional Video for Teachers

Teaching the Lesson

Kansas College and Career Ready Standards

Agriculture

  • 4. Graph & discuss the change in world population over the last 100 years and its impact on land,
    medicine, food production and supply, and agriculture technology. (M,E,LA)
  • 5. Describe the size, number, and what is grown on farms in Kansas and your home county. (M,E)
  • 6. Describe the importance of American agriculture in world food production. (M,E,LA)

Careers in Agriculture

  • 2. Research agriculture career opportunities. (LK MS 28) (CD)
  • 3. Identify an example of a career in each sector. (LK MS 67) (CD)
  • 4. Identify important skills for all careers. (LK MS 30)
  • 5. Identify career interests and preferences. (LK MS 29) (CD)

Plant Systems

  •  1. Define agronomy. (LA,E) Natural Resource Systems
  • 4. Define soil. (S,E, LA)

Environmental Systems

  • 1. List causes of erosion to soil. (LA,E)
  • 2. List important soil and water conservation practices. (M, LA,E)

Teamwork

  • 1. Participate in team activities, and complete team tasks.
  • 2. Clarify statements, receive and give information, propose alternative plans, and come up with a workable solution.

Introduction to Agriscience – 18001

  • 25. Plant Systems
    • 8. List the requirements for plant growth. (S)
  • 28. Natural Resource Systems
    • 8. List the four components of soil. (S)
    • 9. Identify the different soil classes. (S)
    • 10. Compare sand, silt, and clay particles in a soil sample. (S)
  • 31. Agricultural Issues
    • 3. Research a current agriculture issue. (LA)
    • 4. Discuss nutritional needs of humans and the food groups they need. (S)
    • 5. Cite important relationships between land characteristics and water quality.

Workplace Skills

  • 32. Listening Skills
    • Follows oral instructions:
      • Listen for and identify key words.
      • Listen for words that identify a procedure.
      • Listen for steps or actions to be performed.
      • Listen for clues regarding the order or sequence in which a task is performed.
  • Distinguish fact, opinion, and inference in oral communication.
  • Analyze a speaker’s point of view.
  • Draw conclusions or make generalizations from another’s oral communication.

Language Arts Grade 6

  • RI.6.4. Determine the meaning of words and phrases as they are used in a text, including figurative,
    connotative, and technical meanings.
  • W.6.4. Produce clear and coherent writing in which the development, organization, and style are
    appropriate to task, purpose, and audience.
  • W.6.7. Conduct short research projects to answer a question, drawing on several sources and refocusing the inquiry when appropriate.
  • SL.6.1.
    • b. Follow rules for collegial discussions, set specific goals and deadlines, and define individual roles as needed.
    • c. Pose and respond to specific questions with elaboration and detail by making comments that contribute to the topic, text, or issue under discussion.

Language Arts Grade 7

  • RI.7.11. Determine or clarify the meaning of unknown and multiple-meaning words and phrases based on Grade 7 reading and content, choosing flexibly from a range of strategies.
  • RI.7.11.a. Use context as a clue to the meaning of a word or phrase.
  • W.7.1. Write arguments to support claims with clear reasons and relevant evidence.
  • SL.7.1. Engage effectively in a range of collaborative discussions (one-on-one, in groups, and teacherled) with diverse partners on grade 7 topics, texts, and issues, building on others’ ideas and expressing their own clearly.
  • W.7.7. Conduct short research projects to answer a question, drawing on several sources and generating additional related, focused questions for further research and investigation.
  • SL.7.3. Delineate a speaker’s argument and specific claims, evaluating the soundness of the reasoning and the relevance and sufficiency of the evidence.

Language Arts Grade 8

  • RI.8.11. Determine or clarify the meaning of unknown and multiple-meaning words or phrases based on Grade 8 reading and content, choosing flexibly from a range of strategies.
  • RI.8.11.a. Use context as a clue to the meaning of a word or phrase.
  • W.8.1. Write arguments to support claims with clear reasons and relevant evidence. a. Introduce claim(s), acknowledge and distinguish the claim(s) from alternate or opposing claims, and organize the reasons and evidence logically.
  • SL.8.1. Engage effectively in a range of collaborative discussions (one-on-one, in groups, and teacherled) with diverse partners on Grade 8 topics, texts, and issues, building on others’ ideas and expressing their own clearly.
  • SL.8.2. Analyze the purpose of information presented in diverse media and formats (e.g., visually, quantitatively, orally) and evaluate the motives (e.g., social, commercial, political) behind its presentation.
  • SL.8.3. Delineate a speaker’s argument and specific claims, evaluating the soundness of the reasoning and relevance and sufficiency of the evidence and identifying when irrelevant evidence is  introduced.

Math Grade 6

  • 6.RP.A.2. Understand the concept of a unit rate associated with a ratio with , and use rate language in the context of a ratio relationship. For example, “This recipe has a ratio of cups of flour to cups of sugar, so there …”.
  • 6.NS.5. Understand positive and negative numbers to describe quantities having opposite directions or values (e.g. temperature above/below zero, elevation above/below sea level, credits/debits, positive/negative electric charge).
  • 6.SP.5a. Reporting the number of observations.
  • 6.SP.5b. Describing the nature of the attribute under investigation, including how it was measured and its units of measurement.

Math Grade 7

  • 7.RP.2. Recognize and represent proportional relationships between quantities.
  • 7.RP.2a. Determine whether two quantities are in a proportional relationship.
  • 7.SP.5. Express the probability of a chance event as a number between 0 and 1 that represents the likelihood of the event occurring. (Larger numbers indicate greater likelihood. A probability near 0
    indicates an unlikely event, a probability around 1 2 indicates an event that is neither unlikely nor likely, and a probability near 1 indicates a likely event.)

Math Grade 8

  • 8.EE.3. Read and write numbers expressed in scientific notation, including problems where both decimal and scientific notation are used. Use scientific notation and choose units of appropriate size for
    measurements of very large or very small quantities (e.g. use millimeters per year for seafloor spreading). Interpret scientific notation that has been generated by technology.

Learning Objectives

  • Compare and contrast the essential nutrient requirements of plants and humans.
  • Explain why plants cannot use elemental nitrogen found in the atmosphere.
  • Identify the sources for each essential nutrient needed by plants.
  • List aspects of soil composition.
  • Understand that soils are living and dynamic.
  • Recognize that plants take up water and nutrients from the soil.
  • Recognize that growing crops can deplete agricultural soils of nutrients.
  • Understand soils provide support for plants’ root systems.
  • Understand soils hold water and make it accessible to plants.
  • Understand geobacter produces energy outside their bodies that can be used to power “small” electronics.

Materials

Materials for Worksheets
• Tape or glue
• Pencil
• Blue and green colored pencil
Soil Sleuths PowerPoint
Mud Watts PowerPoint
• Earth as an Apple Worksheet (pg. S1 )
• Nutrients for Plants and Animals (pg. S2)

Materials for Soil Sampling
• Soil core or shovel
• Bucket or bowl (1-5 gal.)
• Clipboard with paper or grid paper
• Soil Sampling Guide (pg. S13-14)

Materials for Class Demonstration – Separation of Soil Types
• 3 clear plastic bottles or glass canning jars (12 oz. each)
• Potting soil, local soil, and sand/succulent or cactus soil (10 oz. each)
• Water
• 1 bottle of dish soap (helps particles separate)
• Clear rulers (for measuring separated soil particle layers)

Materials for Investigation 1 – Dry Soil Mystery and Soil Sort
• 2-4 hand lenses
• Pencils
• 3 containers with 2 tbs. of each soil (potting, local, sand)
• 3 post-its or index cards to label containers
• 1 tsp. each of potting soil and local soil
• Dry Soil Investigation Worksheet and soil separation sheets (pg. S4-6)
• Introduction to Dry Soil Mystery (slide 5 of PowerPoint)

Materials for Investigation 2 – Soil and Air Space
• 3 clear test tubes or graduated cylinders (50 mL)
• Potting soil, local soil, and sand (1 oz. or 30 mL each)
• Water (4 oz. or 120 mL)
• 1 ruler
• Soil and Air Space Investigation Worksheet (pg. S7)

Materials for Investigation 3 – Soil and Water
• 3 graduated cylinders
• 3 funnels
• 3 coffee filters
• 3 soil samples (potting, local, sand or succulent soil)
• Water
• 3 cups
• 3 post-its or index cards
• Soil and Water Investigation Worksheet (pg. S8)

Materials for Investigation 4 – Soil and Mudwatts
• MudWatts Kit with included 1 pair Nitrile gloves, 1 anode, 1 cathode, 1 vessel, 1 BlinkerBoard, and 20
instructional booklets.
• Soil (various types are best or from various locations)
• MudWatt app downloaded (apple users: https://itunes.apple.com/us/app/mudwatt-explorer/
id813029960?mt=8)
• Soil and MudWatt Lab Sheet (pg. S10-12)

Safety Considerations

Proper personal protective equipment should be used at all times during laboratory activities. For these labs, it is recommended that students be equipped with safety glasses or goggles, have latex or neoprene gloves made available to them, and wear protective clothing, such as lab coats or aprons.

Procedure for Instructions

Length of Time for Preparation: 30 minutes for material set up
Length of Time for Classroom Teaching: Approximately 1-2 class periods


Preparation Procedure

Classroom Demonstration – Separation of Soil Types
Prepare soil separation bottles/jars at least one day before making observations. Containers can be prepared ahead of time by students. Clear plastic 12-oz. bottles or mason jars work well. Fill each bottle about ⅔ full of soil. Place potting soil, local soil, and sand (could also use succulent/cactus soil) in separate containers. Add water until near the top of each container. Secure top on the containers, and shake contents well. Place the bottles in a location where they will not be disturbed. Adding a squirt of clear dish detergent can aid in the separation of soil particles.

Classroom Setup for Soil Investigations
Divide the class into groups for the four investigations. If you have larger class sizes, you can always set up multiples of each investigations to accommodate your classroom needs.

These four investigations can be done as small group rotations with students traveling to where the investigation has been set up using their own soil samples or separately as an entire class.

  • Investigation 1 – Dry Soil Mystery and Dry Soil Sort:
    • Dry Soil Mystery – Make available three different containers of soil: potting soil (marked with the letter ‘A’), local soil (marked with the letter ‘B’), and sand (marked with the letter ‘C’).
    • Dry Soil Sort – Make available potting soil and the local soil collected earlier, (about 1 tsp. for each group of four students). Have hand lenses available as well as Dry Soil Investigation Worksheet and the two soil separating worksheets.
  • Investigation 2 – Soil and Air Space: Provide three clear test tubes that can hold 50 mL. If these are not available, you can use graduated cylinders. Make available at least 1 oz. (30 mL) each of potting soil, local soil, and sand. Have a ruler and a container that holds at least 120 mL of water and Soil and Air Space Investigation Worksheet.
  • Investigation 3 – Soil and Water: Provide three cups that have been measured out with 120 mL of water. Make three graduated cylinders, three post-its, three coffee filters, and one cup of the three different kinds of soil available (potting, local, and sand). Students will also need a copy of the Soil and Water Worksheet.
  • Investigation 4 – Soil and MudWatts: Provide MudWatts to each individual or student group. Every MudWatt kit comes with 1 pair Nitrile gloves, 1 anode, 1 cathode, 1 vessel, 1 BlinkerBoard, and 20 instructional booklets. Depending on the kit style, you may also receive a clock face, alligator cables, and jumper wires (these can be used to connect MudWatts together). Have roughly three handfuls of each soil type on hand (potting, local, sand). Students will also need a copy of the Soil and MudWatts Worksheet. Note: Using potting soil for this lab requires removing the perlite, white balls, from the soil. They can create air pockets that will affect the MudWatts and lab results. Feel free to use an alternative soil of your choice.

Background Information

As the population of our planet continues to grow, the lands allotted to farming and growing food has remained close to the same amount. This is one reason science is looking to vertical farming as a means of feeding the humans on our planet. With the use of new technology and growing methods, North American farmers have
managed to increase the amount of food, by about 300 to 400%, they can produce with the same amount of land. While this is an incredible accomplishment, it is most likely not sustainable with Earth’s projected population growth of 9 billion people by 2050.

Considering 2050 is only 30 years away, how have farmers made production gains and how can they be furthered? The breeding of high quality plant varieties, efficient water usage, and top fertilizers all play a role in the successful production of crops. Focusing on these three strategies helps ensure that essential nutrients are provided to the crops at the right time, with the right quantity, and optimal location for plant consumption. Soil is essential to our survival as well as for nearly every organism on Earth. Soil is created slowly by the weathering of rocks and decomposition of living matter. You may hear scientist refer to rocks as inorganic matter, while decaying plant and animal matter would be considered organic. Both inorganic and organic material are needed to support plant growth. When looking at soil composition, it is predominantly made up of minerals. It would not be as beneficial without the presence of fungi, bacteria, roundworms, and more organic material that can be found within a sample of topsoil. Yet, it is important to remember that not all soil is the same quality.

The type of soil that is rendered depends on the types of weathered rocks, amount of organic material, time, and other factors. Soils can be classified into three main categories – clay, silt, and sand. These terms can also be used to describe the texture of the soil, or the way the soils feels to the touch. The ideal soil for agriculture is loam. This type of soil is abundant in the Midwest region of the United States, making it an ideal place for growing crops, especially corn. Loam soil is very “airy” which allows the roots breathing space. During the soil investigation, students will discover the properties of soils and how it influences the availability of soil nutrients for plant growth. Students will also dig deeper into why our soils are so well suited to growing many different crops, but especially corn.

Classroom Discussion

Length of Time for Classroom Teaching: 20-40 minutes

Begin by using the phenomena photos (slides 1 and 2) in the Soil Sleuths PowerPoint. This can be used as a bell work or intro into working with soil. Students should be given a few minutes to jot down their thoughts, questions, etc. related to the photos. This can be done on post-its or in a notebook, so that they can be referred to later. Feel free to then show slide 3 and conduct a class discussion or writing prompt using the guiding/inquiry questions:

  • What is soil?
  • How is soil different from dirt?
  • How is soil formed?
  • What can be found in soil? (In the end, make sure the idea of nutrients comes up).

Tip: These questions can be posted in the room for daily student viewing or slide can be referred back to as needed.

Optional Moment – Earth as an Apple: This is an optional, quick discussion topic that can be included. If you click on the apple image in slide 4 of the PowerPoint, you will be directed to a video explaining the amount of our planet that food can actually be grown on. There is also a Earth as an Apple Worksheet (pg. S2 or available at www.kscorn.com) from the Alaska Farm Bureau included if you would like to have students record the fractions and color individually or as a class.

  1. Continue guiding students with the question, “What do you need to live?” — Have students brainstorm what they need to live by prioritizing the things they need the most. If students are struggling with this task, have them rank things based on how long they could live without it. Often, it is fun to relate this to survival shows or being stranded on a deserted island.
  2. Once students have identified what they truly need to survive, post the periodic table of the elements (slide 3) and have students try to locate these things that they need most (air, water, food) on the periodic table of the elements. Discuss the elements found in food that they eat as well as “common knowledge” items. For example, “milk is high in calcium” and “bananas are high in potassium.” A Nutrients for Plants and Animals worksheet (pg. S2 or available at www.kscorn.com) can be used to guide remainder of discussion.
  3. As individuals or as a class, create a hypothesis regarding which nutrients might be essential for plants and for animals, and where or how they get them?
  4. Have students confirm their hypothesis by researching the essential nutrients for plants and writing them on the worksheet in green. Then research the essential animal (human) nutrients and write them on the worksheet in blue.
  5. Have students examine their lists and discuss with their neighbor(s) whether or not the amount of overlap between essential nutrients of plants and animals is surprising to them.
  6. Allow students to finish completing the remainder of their sheet and discuss the final questions and share student illustrations at the end.

Class Demonstration

Separation of Soil Types
Note: Be careful when moving the three bottles with the soils settled in water. Excessive movement will cause the soil layers to mix together. Try to keep the bottles undisturbed so later classes can view them.

  1. Review with students the discussion points they discovered while considering the essential plant nutrients that are found in soils. Ask, “Aside from essential elements, what else do you find in soils?” Guide the discussion toward soil consisting of nonliving inorganic material, such as clay, silt, and sand, as well as living and nonliving organic material, such as dead plant material, bacteria, insects, and worms (this idea will be heavily important for investigation 4).
  2. Show the class the bottles of potting soil, local soil, and sand, which were previously mixed with water and allowed to settle. Ask students to gather around the bottles and make observations about the different soils. Students will observe that the soils separate differently. The potting soil will show a thick layer of dark material on the bottom, a thick layer of cloudy water in the middle, and a thinner layer of organic material on the top. Local soils may differ, but a typical soil will show layering similar to potting soil, though there may be less organic material floating on the surface. Most of the sand will form a very thick layer on the bottom of the container. There will be a thick layer of clear water and a very thin layer of material on the surface.
  3. Ask, “Can you identify the organic material in each container?” If necessary, explain that the organic material is less dense than the inorganic material; therefore, it floats on the surface of the water.
  4. Explain to students that the cloudiness in the water comes from inorganic particles called “clay”, which are so small that they can remain suspended in the water. Point out that most of the nutrients in the soil are found in the organic material and clay.
  5. Ask students the question: Do all soils support the growth of plants equally well? Why or why not? Inform students that they will be learning how to collect a core sample and proceed to give instructions.

Inform students that they will be learning how to collect a core sample and proceed to give instructions.

Procedure for Lab

Collecting Soil Samples

Length of Time for Collecting Soil Samples: 20-25 minutes

  1. Gather supplies for each group of students: soil core probe or shovel, bucket or bowl (1-5 gal.), clipboard with paper to document sample locations (grid paper works nicely), and the Soil Sampling
  2. Discuss with students the importance of a “representative sample” by using the images on slide Truly make sure students understand that they do not want all of their samples to come from the exact same spot. For this reason, students will need to plot out random soil samples from different quadrants of a field that appear to be a good representation of the field as a whole. This is easiest to measure using a grid system, which you could mark out in advance with stakes or flags to save time, or allow students to create and develop a “sys- tem” as an additional challenge.
  3. Demonstrate for students how to use the soil core probe to take a sample of the soil down to a depth of 8-10 (have students mark their probes with a piece of tape to help achieve this depth). Explain this distance is ideal due to typical root depth and will give the best idea of nutrients available to the plant. If a probe is not available, shovels will do, but should be clean as possible to get the truest samples.
  4. Students will need to take 10-15 representative cores from various sites throughout an open area to be sam- pled. You may choose to reduce the number of cores collected for the sake of Note: Color-coded flags, or numbered wooden stakes, can be helpful to identify different sites at which they need to take a soil core sample.
  5. The cores should then be mixed together in the bucket to create a randomized, representative soil sample that students will bring in to use for further analysis in their soil laboratory activities.
  6. Explain that they will now investigate some other properties of soils that affect plant growth. Divide the class into groups of four to five students and direct them to their work areas. Students will rotate between four activities to explore the properties of soil and investigate how it may affect the growth of corn. Note: Instruct students to follow the directions on their handouts, record their observations, and answer any questions. Give students approximately 15 minutes to complete their investigations. Note: It could take longer during the MudWatt It will depend on the speed and understanding of the group. You may want to consider completing this piece of the soils lab in groups with whole class scaffolding, depending on the amount of MudWatts you have.

Investigation 1 – Dry Soil Mystery and Dry Soil Sort: 15-20 minutes

Dry Soil Mystery:

  1. Make sure that students have a small sample of three different soil types (potting, local, and sand or succulent soil). The soils should be labeled as A, B, and C.
  2. Provide students with a Dry Soil Mystery Recording Sheet.
  3. While students are working, feel free to further any discussions and check in with groups who might need more assistance during this time.
  4. At the end, bring the student groups back together and discuss findings and final soil recommendations.

Dry Soil Sort:

  1. Place 1 tsp. of potting soil in the square of one copy of the Potting Soil Separation Sheet and 1 tsp. of local soil in the center of the square on the Local Soil Separation Sheet.
  2. Use a hand lens and a pencil to sort the soil components into the categories listed on the Potting Soil and Local Soil separation sheets.
  3. Once both soil samples have been separated into their components, compare the results for the two types of soils. Have students complete the discussion questions on the Dry Soil Investigation Worksheet. They are also listed below should you need them.

Discussion Questions

  • In what ways are the two soil types similar? How are they different?
  • Can you tell by visual inspection how well a soil will support plant growth? Why or why not?

Investigation 2 – Soil and Air Space

  1. Label three 50-mL test tubes “potting soil”, “local soil”, and “sand”.
  2. Place 20 mL of the appropriate soil into each test tube.
  3. Use a ruler to measure the height of the soil in the test tube. Make a mark near the top of the test tube at a position twice the height of the soil.
  4. Slowly add 20 mL of water to the tube containing the potting soil. Record your observations in the table on the Soils and Air Space Investigation Worksheet.
  5. Repeat step 4, adding 20 mL of water to the tubes containing local soil and sand.

Discussion Questions

  • Why did the final water level differ among the three types of soil?
  • Why is it important for plant growth that soils contain air space?

Investigation 3 – Soil and Water

Before beginning this investigation, students will need a copy of the Soil and Water Worksheet.

This worksheet presents students with an investigative problem, “What type of soil will retain the most amount of water?” Students are welcome to interact with the three soil types, but they will not start the investigation until they have drawn a picture of the soils in the appropriate circles and created a hypothesis. The hypothesis can serve as a student’s claim for which soil will retain the most water and then provide evidence to support or reject their claim at the completion of the investigation. The question, “What soil, based on their evidence collected during investigation,  would be the best choice for crops and why?” would be a nice addition to the response questions at the end of the investigation.

  1. Label your three graduated cylinders using the post-its. Make sure that the post-it doesn’t cover the numbers where you will be measuring.
  2. Place one coffee filter into a funnel and place the funnel into the graduated cylinder.
  3. Add one cup of soil into the coffee filter.
  4. Pour 120 mL of water onto the soil. Make sure to pour in the center of the soil as to not spill any water outside the funnel. Wait 4 minutes. Record the amount of water poured in the chart provided.
  5.  Look into the graduated cylinder and record how much water was not retained by the soil.
  6.  Record on the chart below step 8 on the Soil and Water Worksheet.
  7. Calculate the amount of water retained by each soil sample by subtracting the total amount collected in the graduated cylinder from the amount of water poured over the soil.
  8. Repeat this process for the other two types of soil.
  9. Students will also need to complete the questions on their Soil and Water Worksheet following the investigation. You may also further the discussion as a class using the two questions below.

Discussions Questions

  • Infiltration refers to the ability of soil to accept water. Which of the soils you tested accepted the most water?
  • Percolation refers to the ability of soil to transmit water throughout its depth. Which of the soils you tested allowed for the fastest water movement? Which allowed water to reach the greatest depth?

Investigation 4 – Soil and MudWatts

  1. Explain to students that a fuel cell uses chemical energy to produce electricity cleanly and efficiently. Slide 8 of the PowerPoint shows a fuel cell similar to that one that students will be creating. You can also use page three
    of the MudWatt booklet (available digitally at: http://cdn.teachersource.com/downloads/lesson_pdf/MudWatt_Educational_and_Instructional_Booklet.pdf) to continue the conversation before they begin building.
  2. Provide students their MudWatts Kits. Every group will also need three handfuls of soil for their MudWatt. Make sure that not all groups are testing the same soil. Electricity data can be collected every day for two weeks if you so choose. If you would rather not, the amount of data collection can always be shortened. It will take roughly 3 days to begin seeing results. The hacker board must reach 0.35V to make the LED light blink.This investigation can be followed up with Module 3’s Soil Ecology and Nutrient Cycling provided in the extensions links below.
    Note: The more data collected creates a better graph. Students can create these graphs outside of the app on butcher paper and continue to add to them as data is collected through the app for better visibility and
    discussion between all collecting groups.
  3. Make sure students have downloaded the MudWatts app. As students continue to collect their data through the app, it will unlock more of Shewy’s story.
  4. Students will need a copy of the Soil and MudWatts worksheet.

Teacher Resources

Reflection and Conclusion

Extensions
This investigation allows for many extension opportunities.

  1. Ask students, “How can the amount of water in soil affect your MudWatt, and how it functions?” What effects can this have on a plant that might be growing in that soil?
  2. This lab can be run again testing the electricity production of different kinds of corn. I would suggest using canned, frozen, creamed, sweet, popped popcorn, etc. Note: If you are using a solid corn you will need to add small amount of water, similar to the soil lab.
  3. If you grow corn or any other plant in the classroom, save some of the initial soil. After the plant has grown to the desired size, MudWatts can be used to test the initial soil against the soil the plant grew in. This can help students visually see what plants take from the soil (a great extension activity to the explore corn lab).
  4. Using page 16 of the booklet, you can connect MudWatts in a series or in a parallel fashion. Connecting them in a series produces more voltage but the current will remain the same. Connecting them in a parallel fashion will create more power. Students can determine this based on the blinking of the LED light and by using the app. Note: You will need alligator clips and jumper wires to connect the MudWatts.
  5. MudWatts also has curriculum lessons for running a main module, electricity and circuits, soil and nutrients, and much more. Links are included below:•Main Module: https://cdn.shopify.com/s/files/1/0598/6373/files/MudWatt_MainModule_36fdfea7-6152-4193-b038-e53889f19b06.pdf?15700426206651300090
    •Module 2: Electricity and Circuits: https://cdn.shopify.com/s/files/1/0598/6373/files/MudWatt_Module2_Electricity_and_Circuits.pdf
    •Module 3: Soil Ecology and Nutrient Cycling https://s3.amazonaws.com/cdn.teachersource.com/downloads/lesson_pdf/MudWatt_SubModule3.pdf

Assessment

Continuous conversation and checkpoints help make sure students are on the right track with this lab. Feel free to have students keep their worksheets, discussion responses, and MudWatts data in a portfolio and submit it at the end of the Soil Sleuths investigations.
For a final assessment, students can complete the 11 questions online quiz located at http://www.softschools.com/quizzes/science/soil/quiz361.html

Science and Agriculture Careers

Ask students if they know what an agronomist does. Introduce them to this career field by explaining that agronomists help farmers prepare and maintain their soil to achieve the maximum plant growth. They are experts in the science and technology of producing and using plants for food, fuel, fiber, and land reclamation. They work in areas of plant genetics, plant physiology, meteorology, and soil science. Explain that agronomists help farmers achieve the maximum production from their land. They know the specific needs of plants, and they find methods for making soil as productive and fertile as possible.

To learn more about additional careers focused on soil visit, https://www.nrcs.usda.gov/wps/portal/nrcs/detail/soils/edu/?cid=nrcs142p2_054277.

To learn more about agriculture careers, visit agexplorer.com.  You can also find career profiles at kscorn.com.

Sources

• Soils4Teachers https://www.soils4teachers.org/lessons-and-activities
• American Farmland Trust https://www.farmland.org/initiatives/saving-farms-in-your-community
• Periodic Table https://ptable.com/print/periodic-table.pdf
• Random Sampling by QuestionPro
• Soil Sampling Guide, provided by Spectrum Analytic Inc. – https://www.spectrumanalytic.com/services/analysis/soilguide.pdf
• Teacher Source Digital MudWatts booklet- http://cdn.teachersource.com/downloads/lesson_pdf/MudWatt_Educational_and_Instructional_Booklet.pdf

Disclaimer

Any educator electing to perform demonstrations is expected to follow NSTA Minimum Safety Practices and Regulations for Demonstrations, Experiments, and Workshops, which are available at http://static.nsta.org/pdfs/MinimumSafetyPracticesAndRegulations.pdf, as well as all school policies and rules and all state and federal laws, regulations, codes and professional standards. Educators are responsible for abiding appropriate legal standards and better professional practices under a duty of care to make laboratories and demonstrations in and out of the classroom as safe as possible. If in doubt, do not perform the demonstrations.

About Kansas Corn STEM

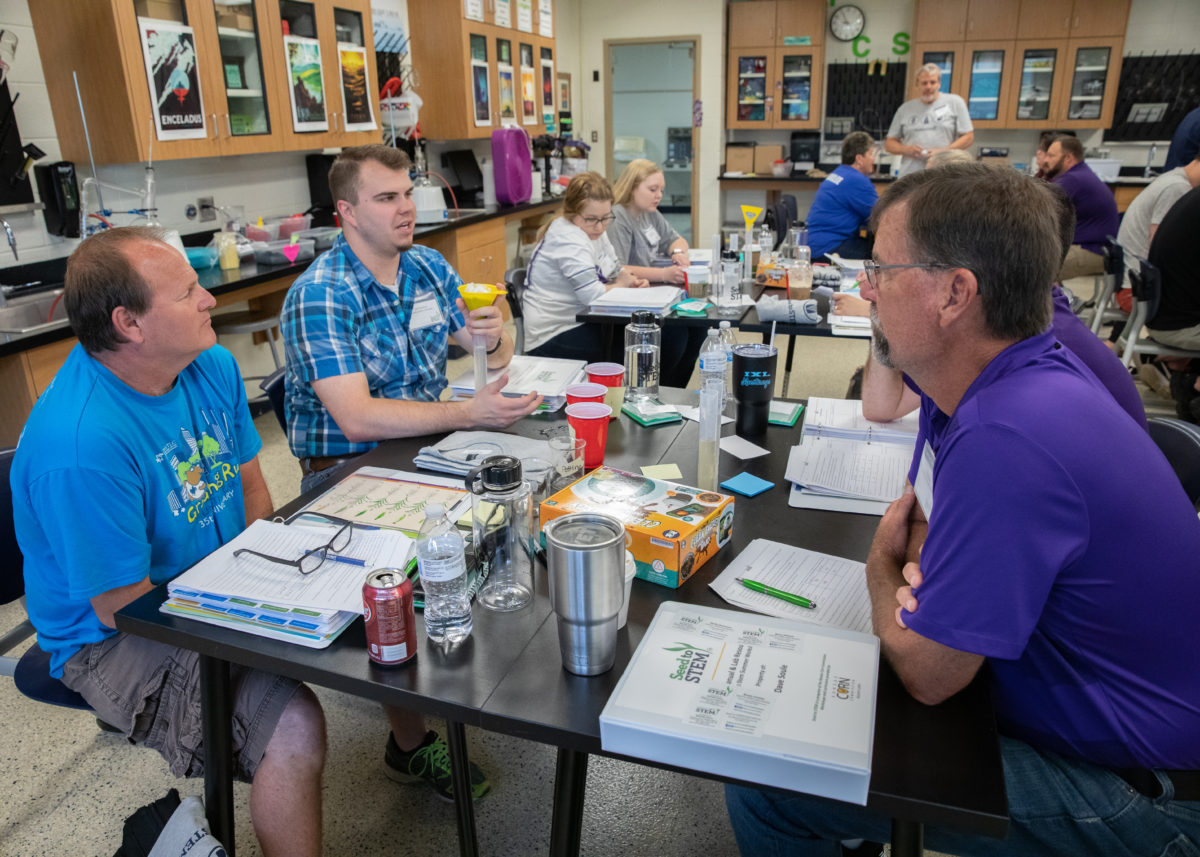
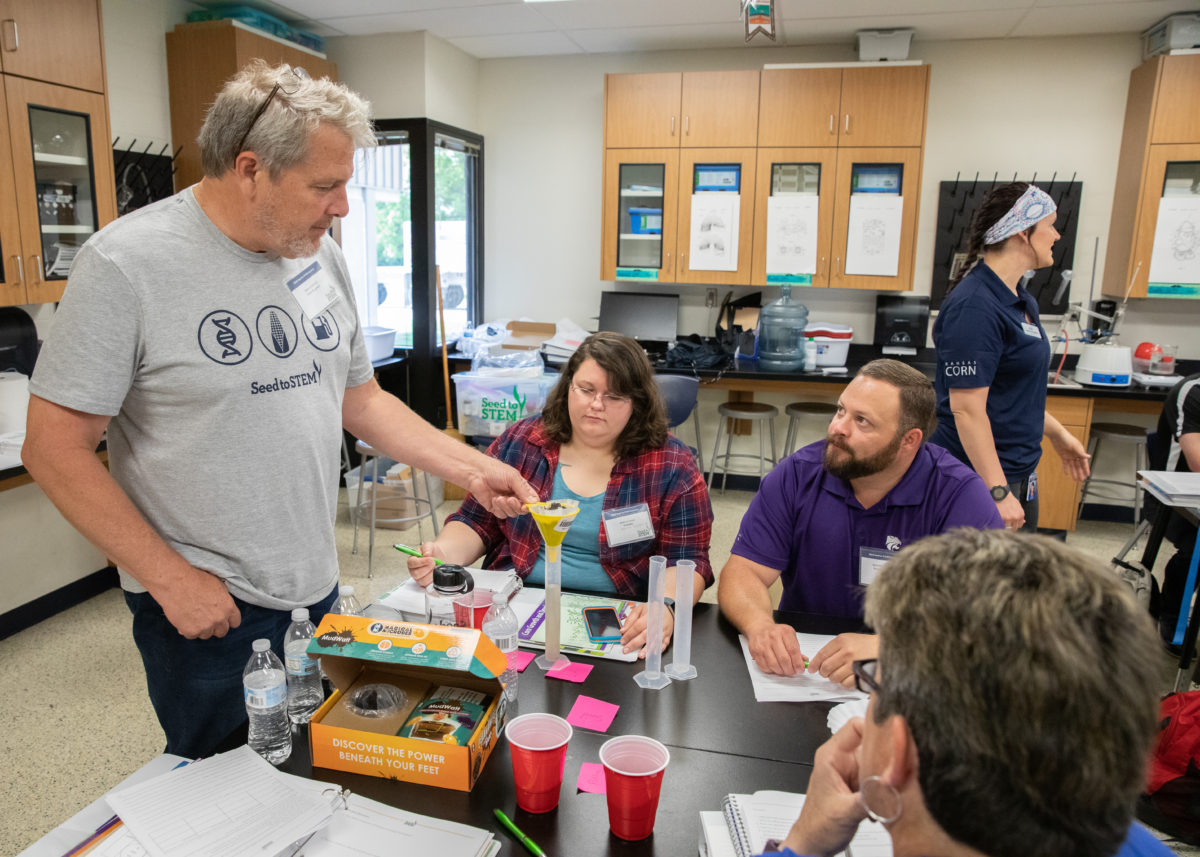
Investing in Kansas teachers and students is a priority for the Kansas Corn Commission. We are committed to providing materials and training to support STEM education while fostering an understanding of how corn farming and agriculture fit into our daily lives. Professional development workshops are offered to teachers seeking to expand their knowledge and inquiry-based teaching skills. Workshop participants receive free lab supplies needed for the lessons.

Workshop Info

This lesson is the work product of the Kansas Corn Commission. Our lessons are written in collaboration with Kansas teachers for use in the classroom. Teachers may copy and share this curriculum. Use of this product for commercial or promotional use is prohibited without express permission of Kansas Corn.

Newsletter Sign Up

Each quarter we release a newsletter written by teachers for teachers. This is an easy way to keep up with what is happening at Kansas Corn STEM.

Subscribe Today!